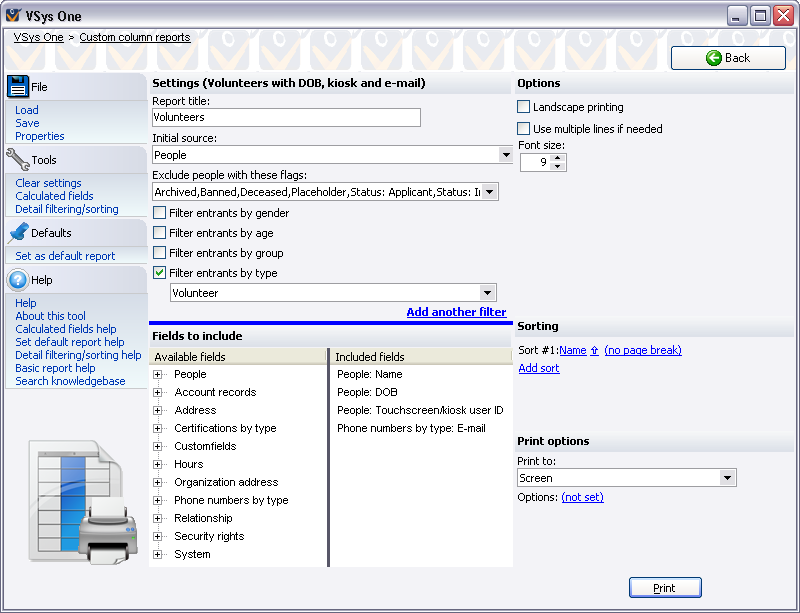
Custom Column reports get some of their features from custom reports, some from the advanced exporter, and some that are uniquely their own. Like custom reports, you can choose what information is displayed, define your own filters, and generally build the report from scratch. But instead of using the Report Designer, you drag-and-drop available fields onto the list of fields to be printed, and VSys handles formatting the report and sizing the columns.
Steps in this task
Click on the Custom Column link on the Reports panel.
Optionally, load a built-in or saved report by clicking on the appropriate link or click Cancel to close the report window and start from scratch.
Select the Initial source, which indicates the base data to be used. This may be people, account records, certifications, memberships, trainings, hours, assignments or other records.
Set your filters. These will filter the records being printed (account records, certifications, memberships, etc.) and on the person associated with that record.
Use the Add another filter link to add any additional filters.
Choose Landscape printing to have VSys rotate the paper so it's wider than it is tall.
Check Use multiple lines if needed to have the fields wrap into multiple lines for each record. If this is checked and VSys does wrap fields, it will include a line between each record to make the report easier to read.
Select a font size.
Set your address criteria, if needed. Choose which address types are preferred by setting an order here, and include (any) as the last fallback address type if you want the letter to go to any valid address even if it's not selected here. Then include or exclude incomplete addresses (those missing one or more of an address line, city, state and zip/postal code), and whether people who don't have an applicable address should be excluded or included.
Set your sort criteria.
Choose the fields to be printed. This involves scrolling through the list of pipelines, and the fields in them, on the left, then dragging those fields to the right. Re-arrange fields by dragging them up or down on the list. Remove a field by dragging it back to the left side.
Edit the title, width, or alignment of any field by right-clicking on it and selecting Edit.
Choose the printer or special device to send the report to.
Click the Print button to run the report.
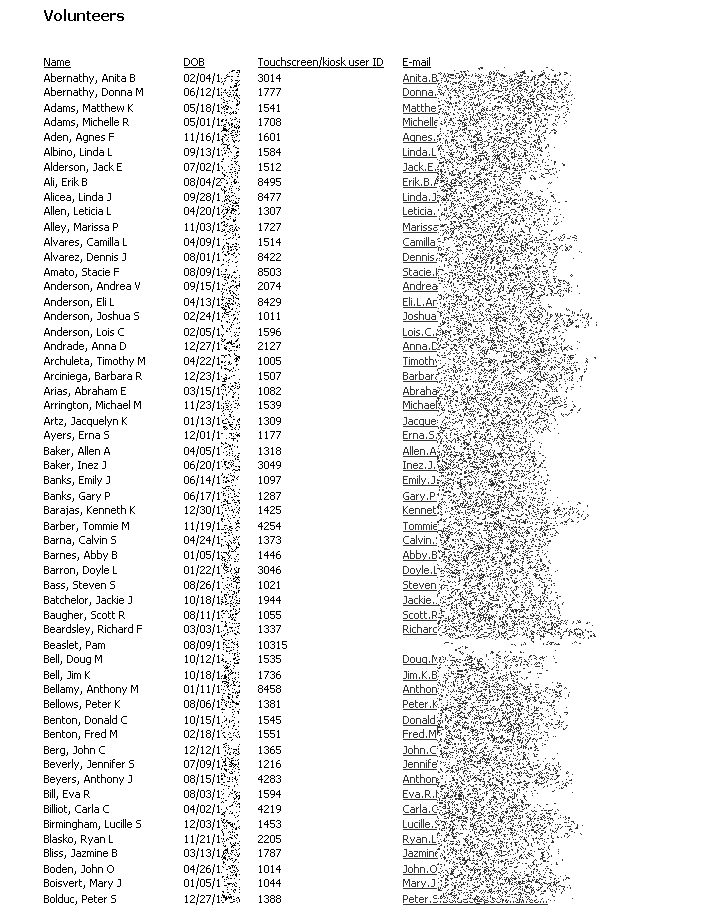
Sample: Volunteers with DOB, kiosk and e-mail
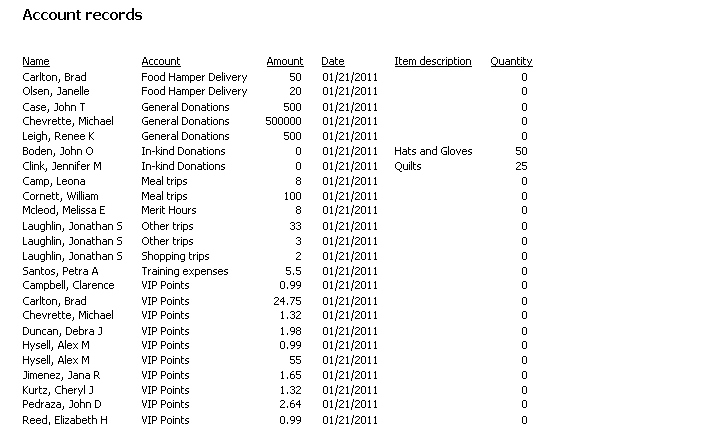
Sample: Account records in a year
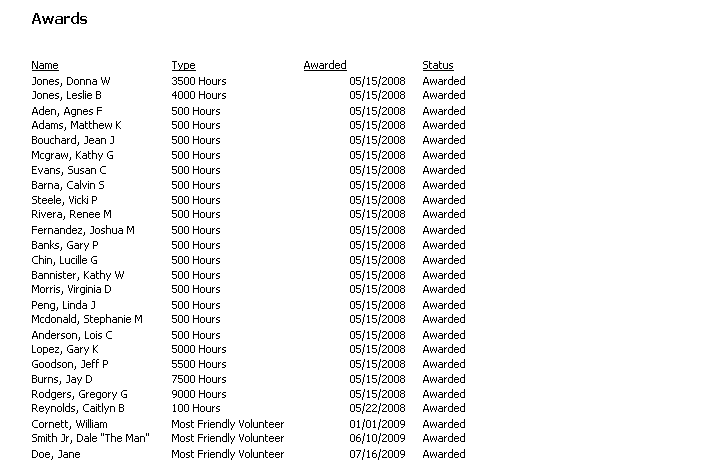
Sample: Awards given a year
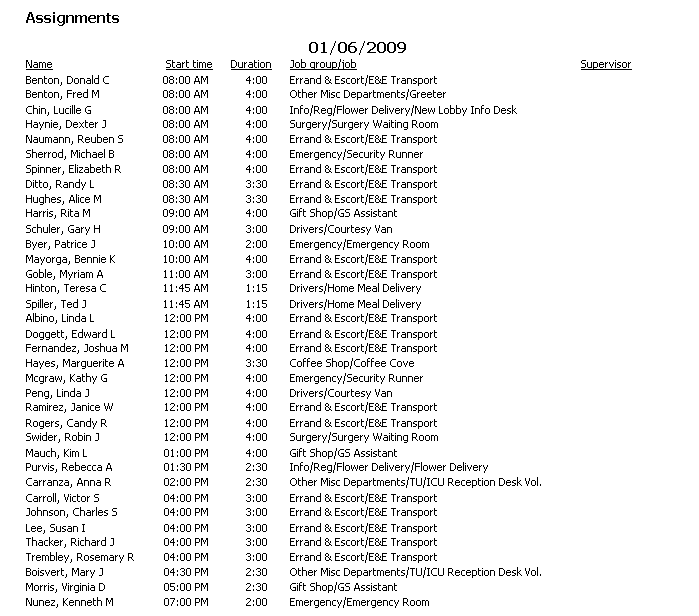
Sample: Assignments for the next 30 days
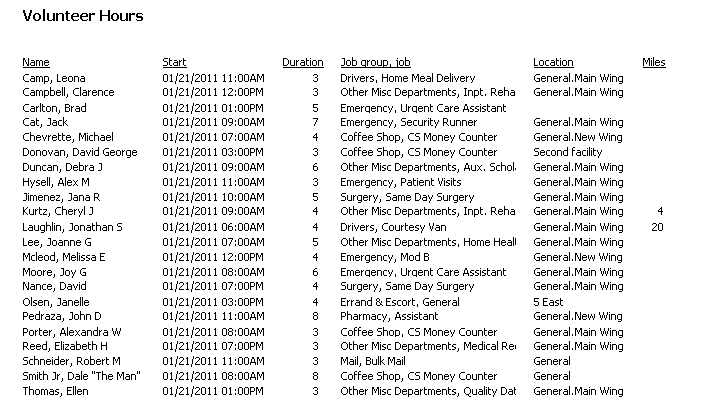
Sample: Hours in the past 30 days
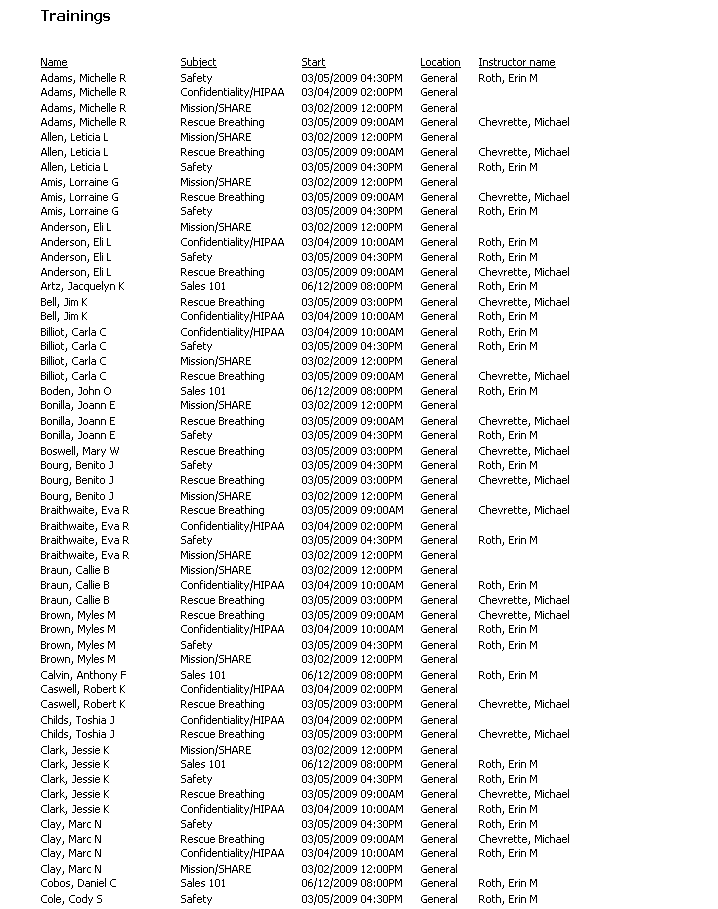
Sample: Trainings in a year
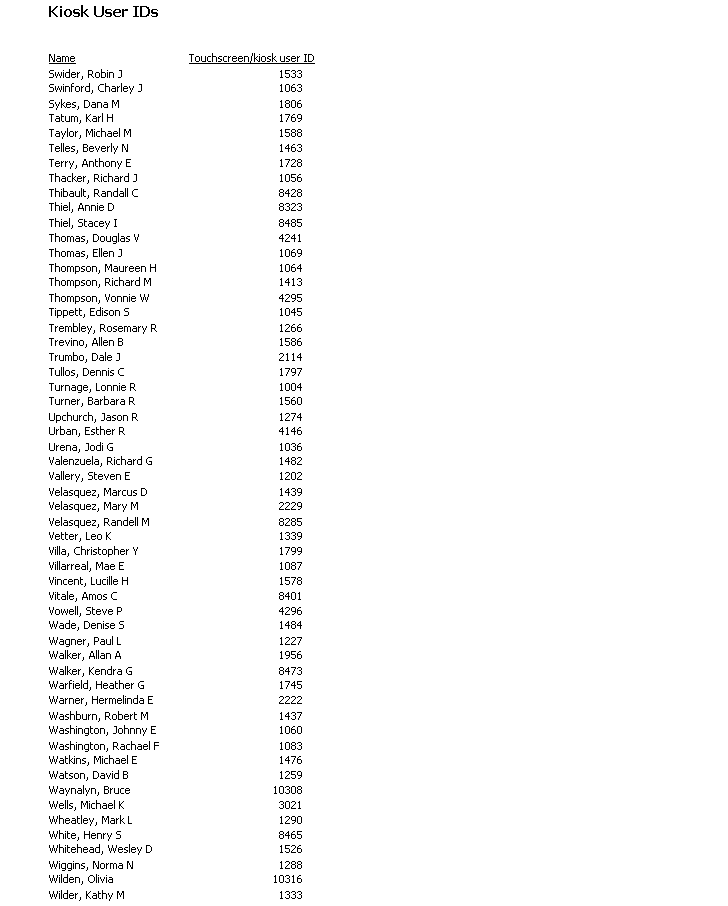
Sample: Kiosk user IDs
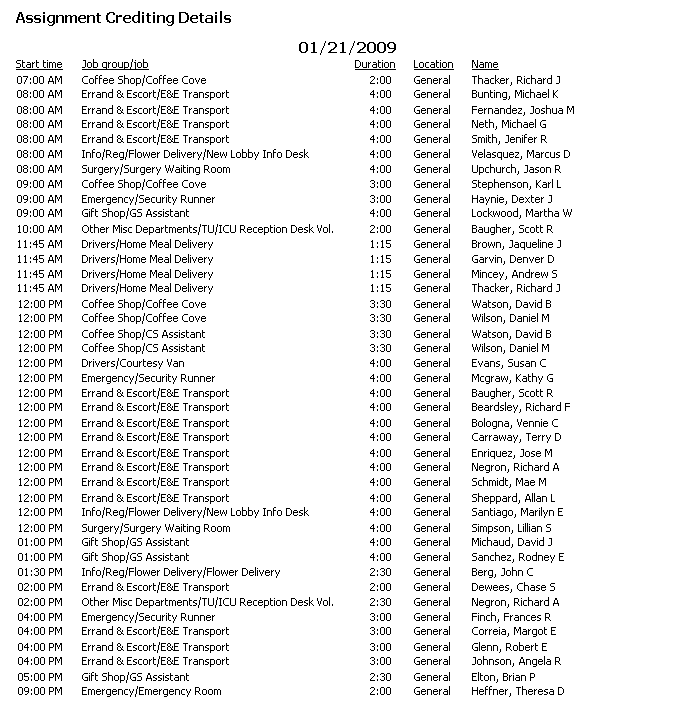
Sample: Assignment crediting details
Additional Custom Column Reports
Samples of all these reports can be viewed within VSys.
Job associations (active) - A listing of people with their job associations, start date, end date, status and supervisor.
Recurring assignments ending in the next 30 days - A listing of volunteers with recurring assignments ending in the next 30 days. Displays name, supervisor, start and end dates of the assignment, shift and job information.
Recent transitions - For a given timeperiod, a listing of people with changes to status, group or type.
Job assignments and associations - A listing of volunteers with the name of the job or job association they have. If they have both for the same job it will only be listed once.
Anniversary month - Anniversary month is based on the person's "Date started".
People with group, DOB and type - Simple listing of people with their names, groups, dates of birth and type.
People details - People with name, date of birth, type, dates, phone,and e-mail.